Making a costume from recycled materials is more than a craft; it’s a foundational lesson in design, engineering, and resourcefulness.
- Smart construction methods, like slot-tabs and removable fasteners, create durable costumes that last well beyond a single event.
- A focus on safety—through material choice, mask visibility, and non-toxic adhesives—makes the entire creative process stress-free and fun.
Recommendation: Start by auditing your recycling bin not as trash, but as a treasure chest of creative potential waiting to be unlocked.
The annual quest for the perfect carnival costume often leads parents down a familiar, frustrating path: aisles filled with flimsy, mass-produced plastic outfits that are worn once and quickly discarded. The alternative, a last-minute DIY project, can result in a costume that’s either uncomfortable or falls apart before the festivities even end. This cycle is not only wasteful but also misses a huge opportunity for genuine creativity and learning.
Many of us have tried the standard solutions—taping some boxes together for a robot or using a bit of felt—but these often lack durability and originality. What if we approached this yearly challenge not as a chore, but as a design project? What if, instead of just making a costume, we could engineer something unforgettable while teaching our children the profound value of the resources we typically throw away? This shifts the focus from simple crafting to intentional design, transforming “trash” into a creative treasury.
This guide provides a new perspective. We will move beyond the glue gun to explore the principles of smart, sustainable costume creation. You’ll learn how to build durable structures without sewing, prioritize safety with simple tests, design for easy storage, and, most importantly, understand why this process is a powerful tool for developing your child’s emotional and creative intelligence. Get ready to turn your recycling bin into the ultimate source of inspiration.
To help you navigate this creative journey, this article covers everything from the educational foundations of upcycling to the practical engineering of your final masterpiece. Explore the sections below to build your skills step-by-step.
Summary: A Guide to Engineering Costumes from Recycled Goods
- Why Making Costumes From Trash Teaches Kids About Resource Value?
- How to Build a Robot Costume With Cardboard and Glue Without Sewing?
- Face Paint or Masks: Which Is Safer for breathing and Visibility?
- The Flammability Danger of Certain Glues and Synthetics in DIY Costumes
- How to Disassemble Box Costumes to Store Them Flat?
- How to Integrate Vintage Finds Into a Modern Wardrobe for Unique Style?
- Drawing Robots: How to Combine Creativity With Engineering?
- Why Role-Playing in Fancy Dress Is Crucial for Emotional Intelligence?
Why Making Costumes from Trash Teaches Kids About Resource Value?
Teaching creativity is as important as teaching literacy. Children are born with tremendous talents and creative capacities that must be encouraged to develop and flourish.
– Sir Ken Robinson, British educator on creativity in education
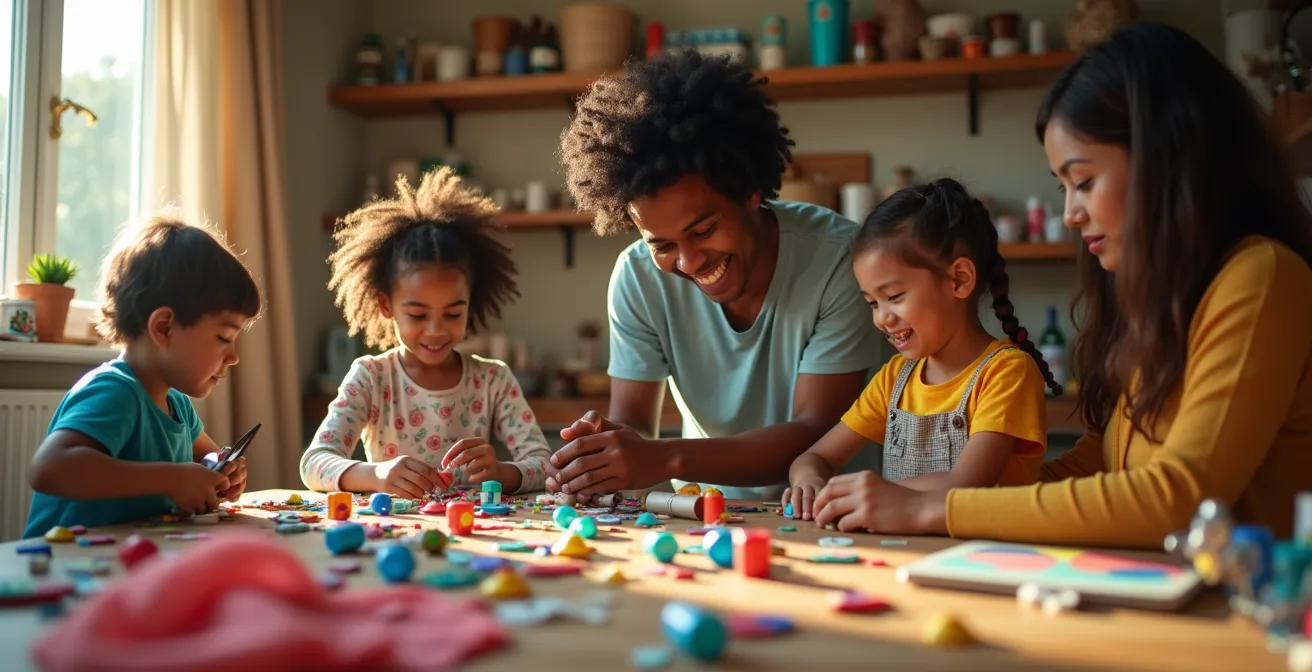
When a child transforms a pile of cardboard, plastic bottles, and fabric scraps into a knight’s armor or an alien’s spaceship, they learn a lesson far more profound than just arts and crafts. They learn about resource value. The “trash” is no longer trash; it becomes a valuable raw material, a palette of possibilities. This hands-on experience reframes their understanding of waste and consumption, planting the seeds of an eco-conscious mindset. Research confirms the benefits of this approach; one study found that children who played with recycled materials showed higher levels of creativity and engaged in more open-ended play.
This process builds what educators at Stanford’s Bing Nursery School call “creative confidence.” By grappling with the properties of different materials—learning that cardboard is rigid, that fabric drapes, that bottle caps make excellent buttons—children become design thinkers. They innovate, problem-solve, and feel a deep sense of pride in making something truly unique. Even very young children can grasp these concepts. A Spanish study with 54 toddlers found that children aged 2-3 years successfully understood recycling concepts and showed immense interest in creative activities with upcycled goods. To kickstart this journey, you can turn the material gathering process into a game.
Your Action Plan: The Family Resource Audit Game
- Item Collection: Place a designated “costume treasury” box next to your recycling bin for one week and collect interesting “trash”.
- Brainstorming Session: Before recycling an item, have your child examine it and brainstorm three potential costume uses (e.g., a yogurt cup could be a robot’s eye, a rocket nozzle, or a knight’s shoulder pad).
- Material Sorting: Sort the collected items by type (plastic, cardboard, fabric, metal) into clear containers to create a “material library”.
- Material Biography: Create a “material biography” card for one or two key items, noting its original use and its new, imagined purpose.
- Project Kick-off: Let your child choose their favorite items from the treasury to serve as the cornerstone for their costume design.
By starting with an audit of available resources, you are not just collecting materials; you are teaching a fundamental principle of sustainable design: working with what you have. It’s the first step in shifting perception from consumer to creator.
How to Build a Robot Costume with Cardboard and Glue Without Sewing?
Building a sturdy, three-dimensional costume like a robot doesn’t require complex skills or a sewing machine. The secret lies in using simple engineering principles to achieve structural integrity with your cardboard. Instead of relying solely on tape that peels or glue that gives way, the most robust method involves creating slot-and-tab connections. This technique, where a tab on one piece of cardboard slides snugly into a slot on another, creates strong, right-angle joints that form the skeleton of your costume.
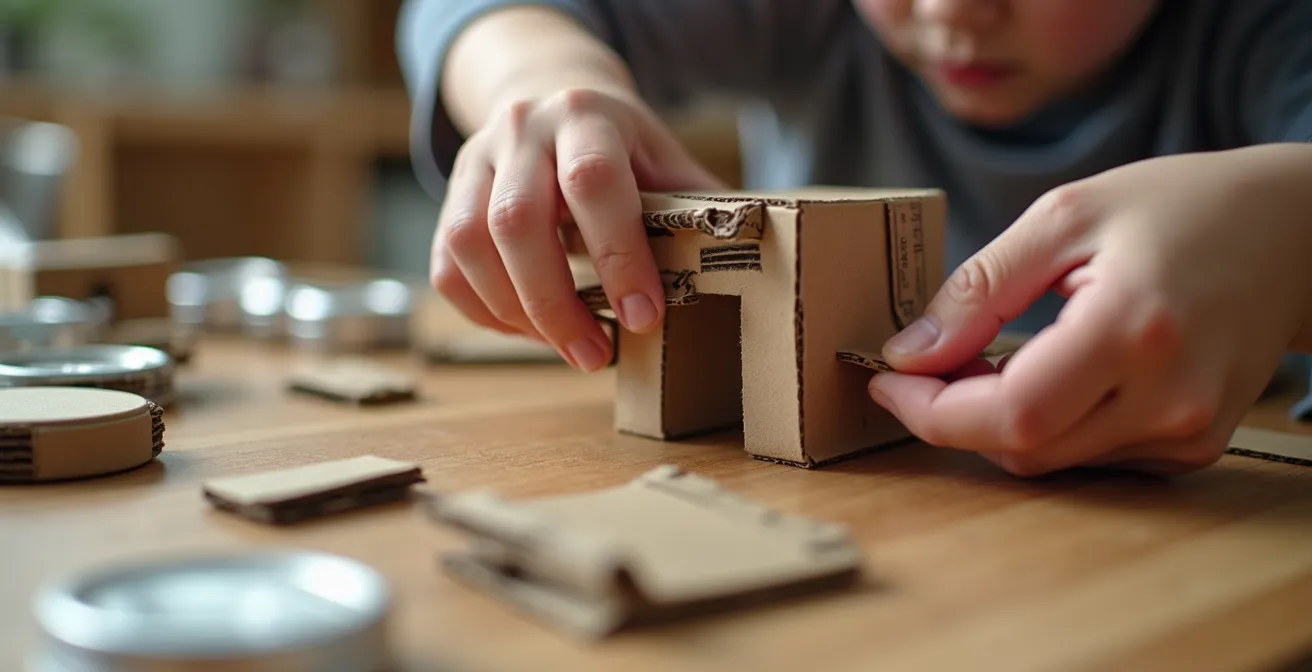
As the image demonstrates, this method allows for precise and strong assembly. Once the main body, head, and limb boxes are constructed, you can connect them with more flexible joints. Brass fasteners, also known as brads, are perfect for creating movable shoulders and hips. Simply reinforce the cardboard with an extra washer-shaped piece where the fastener will go, and you’ll have a robot that can actually move. For purely decorative elements or “greebling” (the technical-looking details), hot glue is fast and effective. It’s crucial to choose the right connection method for the right job.
This table breaks down the best uses for common no-sew connection methods, helping you build a costume that is both impressive and durable.
| Method | Strength | Reversibility | Time Required | Best For |
|---|---|---|---|---|
| Slot & Tab | High | Fully reversible | 15 min setup | Main structure |
| Hot Glue | Very High | Permanent | 5 min | Decorations |
| Duct Tape | Medium | Semi-reversible | 2 min | Quick fixes |
| Brass Fasteners | High | Reversible | 10 min | Moving joints |
| Velcro Strips | Medium | Fully reversible | 5 min | Removable panels |
By combining these techniques, you can engineer a costume that holds together through hours of play. The slot-and-tab frame provides the core strength, brass fasteners allow for movement, and hot glue adds the flair, all without a single stitch.
Face Paint or Masks: Which Is Safer for Breathing and Visibility?
When it comes to completing a costume’s look, the choice between a mask and face paint involves a critical trade-off between aesthetics and safety. While a full-head cardboard mask can look spectacular, it can pose significant risks to a child’s visibility and breathability. A mask’s eye holes often restrict peripheral vision, which is crucial for navigating crowds, crossing streets, and avoiding obstacles, especially as dusk falls. Similarly, an enclosed mask can trap heat and carbon dioxide, making breathing difficult for an active child.
Face paint is generally the safer alternative, provided you use non-toxic, hypoallergenic products designed specifically for skin. It allows for completely unobstructed vision and breathing. However, if the costume’s design absolutely requires a mask, you must prioritize safety in its construction. One effective DIY solution for improving airflow is to integrate breathable panels. Creative makers have successfully used mesh from fruit bags or produce netting, securing it behind a larger mouth opening to maintain the costume’s look while ensuring proper ventilation. For visibility, always perform a simple safety test before heading out.
Follow these steps to ensure your child’s mask is safe for trick-or-treating or carnival events:
- With the child wearing the mask, have them stand in a safe, open area and look straight ahead.
- Stand at their side, just outside their direct line of sight.
- Slowly move a brightly colored object from behind them into their field of peripheral vision.
- Ask the child to say “stop” as soon as they see the object. Note the angle.
- A child’s peripheral vision should be at least 70 degrees on each side. If it’s less, the eye openings on the mask are too small and must be widened.
- Repeat this test in a dimly lit room to simulate evening conditions.
Ultimately, an open-face design, like a helmet or a headdress combined with face paint, often provides the best balance of character and safety. It allows the child to see, breathe, and express themselves without compromise.
The Flammability Danger of Certain Glues and Synthetics in DIY Costumes
In the excitement of creating, it’s easy to grab the nearest can of spray adhesive or a tube of super glue to speed up the process. However, many common crafting materials, especially certain adhesives and synthetic fabrics, pose a serious flammability risk. Costumes can easily come into contact with heat sources like candles in jack-o’-lanterns, party decorations, or heaters. Adhesives that contain solvents, such as spray adhesives or rubber cement, are particularly dangerous as their fumes can be flammable during application and they may leave a combustible residue even when dry.
The safest approach is to choose adhesives with a low or non-existent flammability risk. Water-based glues like PVA (white school glue) or a simple homemade flour-and-water paste are excellent non-flammable choices for paper and cardboard, though they require longer drying times. For instant bonds and attaching details, hot glue (in its solid, dry state) and double-sided tape are low-risk options. It is equally important to be mindful of the fabrics you use. Lightweight synthetics like polyester netting (tulle) or acrylic fluff can be highly flammable, while natural fibers like cotton, wool, and felt are more flame-resistant.
When building a costume, always work in a well-ventilated area, away from any open flames. The following chart provides a clear comparison of common adhesives to help you make a safer choice for your project.
| Adhesive Type | Flammability Risk | Fume Toxicity | Drying Time | Safe Distance from Heat |
|---|---|---|---|---|
| Hot Glue | Low when dry | Minimal | 30 seconds | 12 inches |
| PVA/White Glue | Very Low | None | 30-60 min | 6 inches |
| Spray Adhesive | HIGH | High | 5-10 min | 3+ feet |
| Flour-Water Paste | None | None | 2-4 hours | No restriction |
| Double-sided Tape | Low | None | Instant | 12 inches |
By consciously selecting safer materials, you not only protect your child but also reinforce the project’s core message of thoughtful and responsible creation. A great costume is a safe costume.
How to Disassemble Box Costumes to Store Them Flat?
One of the biggest downsides of a fantastic box costume is its aftermath: a bulky, space-consuming object that’s too precious to throw away but too awkward to store. The solution is to think like a flat-pack furniture designer and embrace the principle of Design for Disassembly (DfD) from the very beginning. Instead of permanently gluing everything together, you build the costume with the intention of taking it apart easily for compact storage and future use.
This approach relies on using reversible connections. Velcro strips are your best friend for attaching major components, allowing panels to be peeled off and laid flat. For structural joints, the slot-and-tab method is naturally suited for disassembly. You can even design components to nest inside one another, like Russian dolls, to further minimize storage space. Before you take it apart for the first time, take photos from all angles to serve as a visual instruction manual for next year. This not only solves the storage problem but also extends the life of the costume, allowing it to be worn again, passed down, or “remixed” into a new creation.
By planning ahead, you can transform a three-dimensional costume into a neat, storable kit. Follow these DfD principles during your build:
- Use velcro strips or brass fasteners instead of permanent glue for all main connections.
- Number each piece with removable stickers in the correct assembly order.
- Create fold lines by scoring the cardboard (cutting only halfway through) instead of cutting separate pieces where possible.
- Design nesting components, where smaller parts can fit inside larger ones for storage.
- Photograph the finished costume from at least four angles before disassembly to create a re-assembly guide.
- Store all the flat pieces in a labeled art portfolio or a flattened large box, along with the assembly photos and a “remix” card with ideas for next year.
This thoughtful approach turns a one-time-use item into a sustainable, reusable kit, perfectly aligning with the spirit of upcycling.
How to Integrate Vintage Finds into a Modern Wardrobe for Unique Style?
To give your recycled costume a truly unique texture and personality, look no further than your own “vintage finds”—old clothes and textiles destined for disposal. This is about harvesting notions and textures to add depth and character without needing to sew. An old pair of jeans, a worn-out sweater, or a stained t-shirt are treasure troves of materials. Zippers can become a robot’s spine, buttons can be transformed into alien eyes, and strips of textured fabric can be braided to make a lion’s mane or a warrior’s belt.
The key is to deconstruct these garments into their raw components. Carefully remove all the hardware—buttons, zippers, buckles, and patches—and sort them into containers. Then, cut the remaining fabric into usable forms, such as strips, squares, or fringe. You can then layer these different fabric textures onto your cardboard base using fabric glue to create a rich, three-dimensional effect. An old cable-knit sweater, for example, can be cut up and glued onto a cardboard vest to create instant medieval armor texture.
You can assemble entire sections of a costume using no-sew fabric techniques. Good quality fabric glue works wonders on materials like felt, tulle, and cotton. For simple seams or hems, you can even use a fast, functional hand stitch that requires no machine. This process of upcycling old garments is not just sustainable; it’s a masterclass in adding detail and authenticity to your creation.
- Collect Garments: Gather old clothing, focusing on interesting textures, colors, and hardware.
- Harvest Notions: Carefully remove all buttons, zippers, buckles, and decorative patches with a seam ripper or small scissors.
- Create Fabric Stock: Cut the garments into usable fabric strips for wrapping, fringe for manes, or patches for layering.
- Sort Your Inventory: Organize the harvested notions and fabric by type in clear containers for easy access during the design phase.
- Integrate Creatively: Use the harvested zippers as decorative control panels, buttons as eyes or gauges, and layer different fabric textures to create depth and interest without sewing.
By seeing old clothes as a material resource, you unlock a new level of creativity and ensure your costume is truly one-of-a-kind.
Drawing Robots: How to Combine Creativity with Engineering?
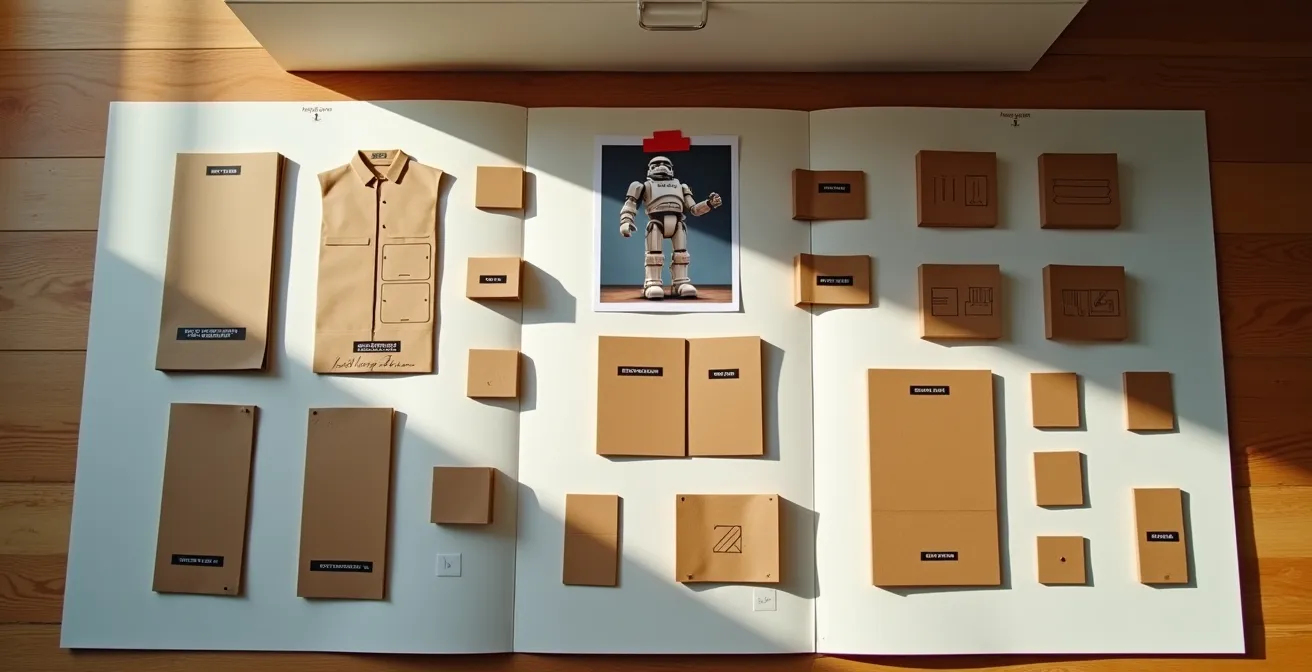
The most successful costumes begin not with cardboard and glue, but with a pencil and paper. The process of translating a blueprint to a 3D structure is where creativity and engineering merge. Encouraging your child to draw their idea first allows them to solidify their vision and, more importantly, to start thinking about how it will be constructed. The initial sketch doesn’t need to be a masterpiece; its purpose is to identify the basic geometric shapes that will form the costume—cubes for the body, cylinders for the limbs, a sphere for the helmet.
Once the basic form is drawn, the next step is to create an “exploded view,” a sketch where all the parts are separated. This helps visualize how many pieces of cardboard are needed and where they will connect. This is also the perfect time to introduce the idea of constraint-based design. By listing your available recycled materials next to each drawn component, you create a design challenge. You might not have one giant box for the torso, but you have three smaller ones. How can they be combined? This limitation doesn’t stifle creativity; it fuels it. A study on a “Trash to Treasure” art challenge found that students demonstrated exceptional creativity when limited to specific materials, proving that constraints often enhance creative expression.
To test the structural connections before committing to a full-size build, create a miniature prototype using toilet paper rolls and small boxes. This 1:10 scale model is a low-stakes way to solve engineering problems and ensure the final costume will be stable and wearable. This entire process teaches children the fundamentals of the design cycle: from ideation and prototyping to final construction.
- Step 1: Draw the robot design, focusing on breaking it down into basic 3D shapes (cubes, cylinders).
- Step 2: Create an “exploded view” sketch showing all the individual parts separated.
- Step 3: List your available recycled materials next to each drawn component to map resources to the design.
- Step 4: Build a mini-prototype at a 1:10 scale using small boxes and paper tubes to test the overall form.
- Step 5: Test your connection methods (slot-tabs, fasteners) on the small model first to identify weak points.
- Step 6: Once the design is proven, scale up the measurements to create your full-size cardboard templates.
This structured approach demystifies the building process and turns a creative idea into an achievable engineering project.
Key Takeaways
- Design matters: Using engineering principles like slot-tabs and Design for Disassembly (DfD) elevates a simple craft into a durable, reusable creation.
- Safety is paramount: Always prioritize breathability, visibility in masks, and the use of non-flammable, non-toxic materials in your build.
- The process is the lesson: Making a costume from recycled goods teaches children profound lessons in resourcefulness, design thinking, and emotional intelligence.
Why Role-Playing in Fancy Dress Is Crucial for Emotional Intelligence?
The value of a homemade costume extends far beyond the moment it’s completed. The act of wearing it and becoming a character is a powerful engine for developing a child’s emotional intelligence. When a child dons the robot costume they helped build, they aren’t just wearing cardboard; they are embodying a new persona. This role-playing allows them to explore different emotions, perspectives, and social scenarios in a safe, playful context. They can practice being brave like a knight, commanding like a starship captain, or silly like a clown, helping them understand and manage their own feelings.
Furthermore, the collaborative process of making the costume itself is a rich social experience. As children work with parents and peers, they learn to share ideas, negotiate roles, and communicate their vision. Educators have long recognized this benefit. Nancy Howe of Stanford’s Bing Nursery School reports that social engagement and language development are strongly encouraged through recycled materials. As children articulate what they’ve made and how it works, they practice abstract thinking and expand their vocabulary, learning to express complex thoughts and ideas.
This combination of collaborative creation and imaginative play is a potent formula for growth. The pride of wearing something they made with their own hands gives them confidence, while the act of role-playing gives them the tools to navigate their social world. The costume becomes more than just an outfit; it’s a vehicle for self-discovery and emotional development.
The journey from trash to treasure begins with a single box and a spark of imagination. Start your family’s Resource Audit today and discover the incredible masterpieces waiting to be engineered from your own recycling bin.